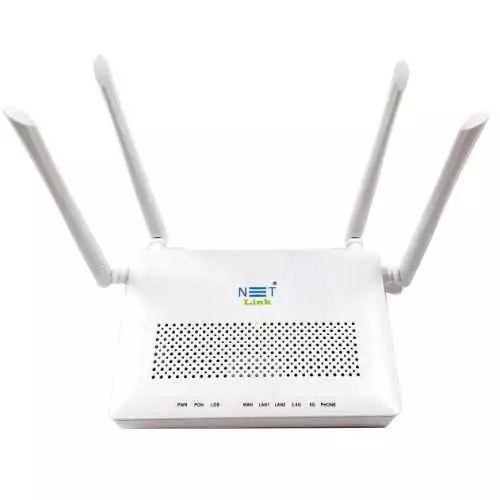
How do I enable port Forwarding on netlink HG323DAC modem for remote desktop?
Remote desktop lets you to access your computer from elsewhere. To have constant access to your main computer, set up remote desktop port forwarding on your home network.In this blog ,To enable RDP access through your Netlink HG323DAC modem, you need to set up port forwarding. Here is a step-by-step guide:
RDP uses port 3389 by default for communication. Since this port is not open on your modem by default, you need to forward the port to your computer's local IP address. This will allow incoming RDP connections to be directed to your computer.
Prerequisites
- Windows computer to be accessed remotely
- Netlink HG323DAC modem
- Administrator access to the modem
- Enter the router default IP address 192.168.1.1. On the web to get netlink login page.

- Once you enter IP address you got the router login page , enter an username and password along with verification code as usual.
- Then , On the netlink dashboard select “Application Menu “ then click Advance NAT-> Virtual Server

- Click “Add” button to configure NAT Remote desktop by adding IP addres and Port number on their particular tab.
- In this tab, Enter the custom server name , server IP address , enabling TCP/UDP protocol along with RDP port number as 3389.

Finding My device IP
There are two options to get an IP address of your device to configure virtual device. First option is open command prompt to get it. Another option is using third party tools like “Angry IP Scanner”
To find an IP address of device to configure as remote desktop , then open command prompt and enter “Ipconfig” to find IP address of the device.

Here we use Angry IP application to find our custom server IP address. First, you need to enter your ONT’s IP address start from “192.168.1.1” to end “192.168.1.255”. Then, click “Start” button to process. It is better if you know your server's IP address without using this tool.

Angry IP address Application
If you find your IP to make custom server host name. After completion of Angry IP app process. Click IP of the device which you want to configure. Copy “IP” and “Hostname”. Then, go to netlink ONT dashboard.
Configuring NAT RDP
1. On the Virtual Server menu , enable custom server and enter custom server name as you need.
2. Next, Enter an Server IP address of device IPs which need to configure as Remote desktop.

Entering custom server and IP address
3.Then enable check box , and enter an external IP address if need to add particular device to access virtual server.
4.Enter an External Start port and end port as Remote desktop port number as 3389 and select protocol as TCP /UDP. Then enter server IP Address as to configure.Finally, enter server port number as 3389.

Configuring RDP Port forwarding
As we Know , both TCP and UDP protocol has to be configured for the remote desktop server.
Likewise ,we can enable other protocol as HTTP,HTTPs ,POP3 and etc by entering Port number and server IP address.
5.At the End , Click save & apply button to save setting of virtual server.
Now, enter IP address of device or Public IP address by search " what's my ip " on browser on windows remote desktop connection .

Then, click yes to get verified of remote computer to connect . In a few minutes, you can get a your RDP connection.

Now, you can access your virtual device as configured on Netlink modem as shown below.

Remote desktop connected device
Conclusion
Port forwarding enables RDP access to your computer over the internet through a modem. Always use strong credentials to secure remote desktops and limit access only to trusted devices. Monitor open ports to prevent intrusions. Enjoy the convenience of remote computer access with proper security measures.


